Record player anti-skate is a crucial adjustment that significantly impacts sound quality and stylus longevity. Without proper anti-skate, your turntable’s stylus will be pulled towards the center of the record, causing uneven wear on the stylus and distortion in one channel. Understanding and correctly setting anti-skate can prevent these issues, ensuring your vinyl sounds its best and your stylus lasts longer.
What is Anti-Skate and Why is it Necessary?
Anti-skate is a force applied to the tonearm that counteracts the natural inward pull (skating force) experienced by the stylus as it tracks a record. This inward pull is a result of friction between the stylus and the record groove, combined with the offset angle of the tonearm. If left uncorrected, the stylus will press harder against the inner wall of the record groove, leading to imbalanced channel output, premature stylus wear on one side, and audible distortion, particularly in the right channel.
The skating force varies depending on several factors, including the tracking force, stylus profile, and the record’s surface. Therefore, a proper anti-skate setting is essential for maintaining even pressure on both groove walls, allowing the stylus to track accurately and reproduce the audio signal faithfully from both stereo channels.
How to Set Your Record Player’s Anti-Skate
Setting anti-skate typically involves a dial or a weighted string mechanism on your turntable. The most common method is to match the anti-skate setting to your tracking force. For example, if your tracking force is set to 2 grams, a good starting point for your anti-skate would also be 2. However, this is just a starting point, and fine-tuning is often necessary.
More advanced methods include using a blank, grooveless record. When the stylus is placed on this blank record, it should remain stationary or drift very slowly towards the center or outer edge. If it rapidly pulls in one direction, adjust the anti-skate until it stays put. Another technique involves listening tests, adjusting the anti-skate until the soundstage is centered and distortion is minimized, especially in the higher frequencies.
Common Anti-Skate Mechanisms
|
Our Picks for the Best Record Player in 2026
As an Amazon Associate I earn from qualifying purchases.
|
||
| Num | Product | Action |
|---|---|---|
| 1 | Victrola Journey Bluetooth Portable Suitcase Record Player – with Built-in Speakers, 3 Speed Vinyl Record Player, RCA Out, Headphone Jack (Smoky Blue) |

|
| 2 | SoulBox S1 Vinyl Record Player with Stereo Speakers, Turntable with Built-in Preamp, S-Shaped Tonearm, 33/45 RPM - Walnut |
|
| 3 | Vinyl Record Player Turntable with Built-in Bluetooth Receiver & 2 Stereo Speakers, 3 Speed 3 Size Portable Retro Record Player for Entertainment and Home Decoration |
|
| 4 | Vinyl Record Player with Dual Stereo Bookshelf Speakers Vintage Turntable with Bluetooth Wireless Playback Belt Drive 3-Speed Playback Record Player Support RCA Out Auto Stop |
|
| 5 | Vinyl Record Player with Speakers Vintage Turntable for Vinyls Records Belt-Driven Turn Table Support 3-Speed, Wireless Playback, Headphone, AUX-in, RCA Line LP Phonograph for Sound Enjoyment Black |
|
| 6 | Vintage Record Player with External Speakers Belt-Drive Turntable for Vinyl Records Dual Stereo Speakers LP Players Support 3 Speed 3 Size Wireless Playback AUX Headphone Input Auto Stop Wood Red |
|
| 7 | Vinyl Record Player 3-Speed Bluetooth Suitcase Portable Belt-Driven Record Player with Built-in Speakers RCA Line Out AUX in Headphone Jack Vintage Turntable |
|
| 8 | Audio-Technica AT-LP60X-GM Fully Automatic Belt-Drive Stereo Turntable, Gunmetal/Black, Hi-Fidelity, Plays 33-1/3 and 45 RPM Vinyl Records, Dust Cover, Anti-Resonance, Die-Cast Aluminum Platter |
|
| 9 | Audio-Technica AT-LP60X-BK Fully Automatic Belt-Drive Stereo Turntable, Black, Hi-Fi, 2 Speed, Dust Cover, Anti-Resonance, Die-Cast Aluminum Platter |
|
| 10 | Victrola The Quincy 6-in-1 Bluetooth Record Player & Multimedia Center with Built-in Speakers – 3-Speed Turntable, CD & Cassette Player, AM/FM Radio, Wireless Music Streaming (Mahogony) |
|
- Spring-Loaded Dial: Many turntables feature a small dial, often numbered, that adjusts the tension of a spring to apply the anti-skate force. This is the most common and user-friendly method.
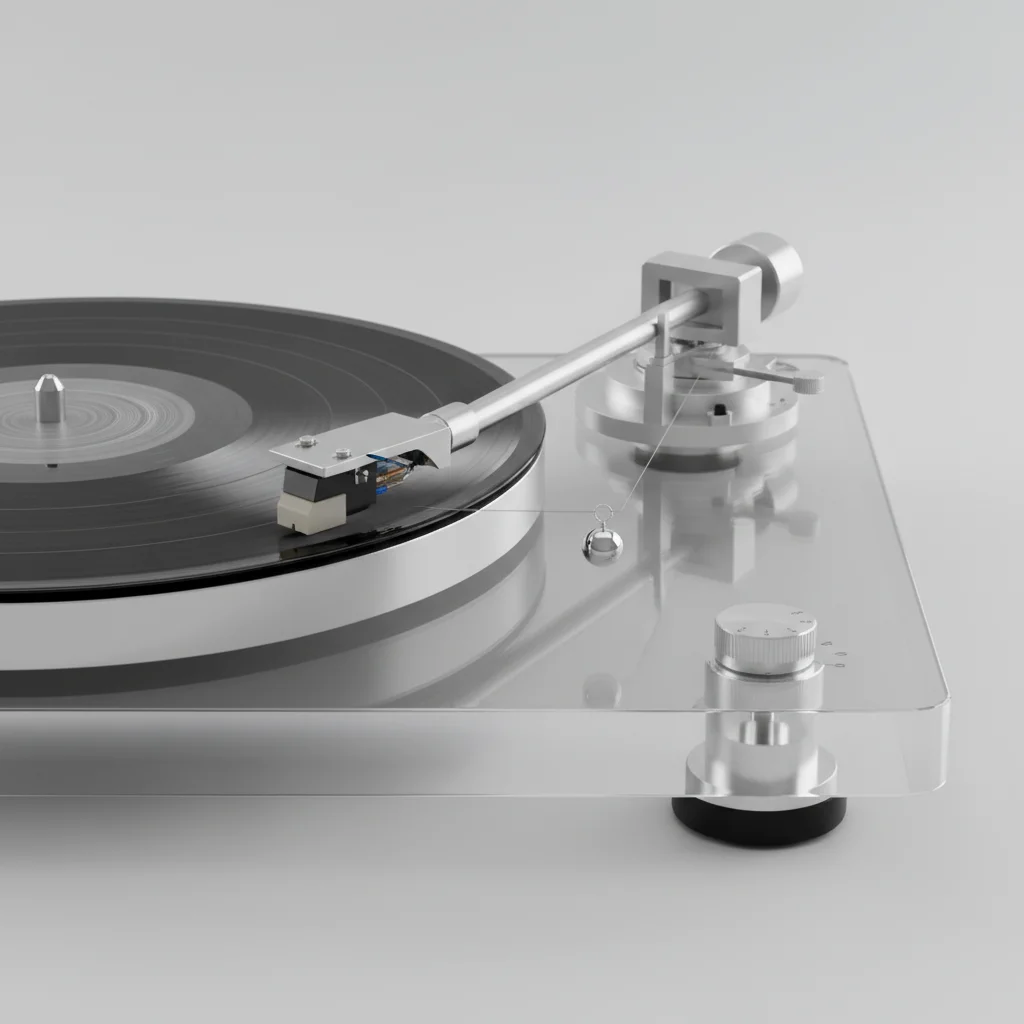
- Weighted String: Some audiophile turntables use a small weight attached to a string that hangs over a pivot point, creating the anti-skate force. The position of the weight on the string determines the amount of force.
- Magnetic Anti-Skate: Less common, but some high-end models use magnets to create the opposing force, offering a very precise and consistent adjustment.
- Dynamic Anti-Skate: Found in some advanced tonearms, this system automatically adjusts the anti-skate force based on the stylus’s position in the groove.
The Impact of Incorrect Anti-Skate Settings
An improperly set anti-skate can lead to a range of audible and physical problems. Too little anti-skate will result in the stylus being pushed too hard against the inner groove wall. This manifests as distortion, particularly sibilance (hissing sounds) and harshness in the right channel, and can cause the stylus to wear out unevenly on its inner facet. Conversely, too much anti-skate will push the stylus too hard against the outer groove wall, leading to similar distortion issues, but primarily affecting the left channel, and causing uneven wear on the outer facet of the stylus.
Beyond sound quality, incorrect anti-skate can also cause tracking errors, where the stylus struggles to stay in the groove, leading to skips or jumps, especially during dynamic passages. Over time, this can damage both your records and your stylus, necessitating costly replacements.Investing a few minutes to properly set your anti-skate can save you money and enhance your listening pleasure significantly.
Tips for Optimizing Your Anti-Skate
Always ensure your turntable is perfectly level before attempting to set anti-skate. Use a spirit level to check both horizontally and vertically. A non-level turntable can introduce its own tracking issues that will confound your anti-skate adjustments. Also, remember that anti-skate is often the last adjustment you make after setting tracking force and tonearm height (VTA).
Experimentation is key. While matching tracking force is a good starting point, trust your ears. Listen to a variety of records, especially those with complex passages or strong vocals, and make small adjustments until the sound is balanced, clear, and free of distortion.Consider consulting your turntable’s manual for specific recommendations, as some manufacturers provide detailed guidance for their particular tonearm designs.
