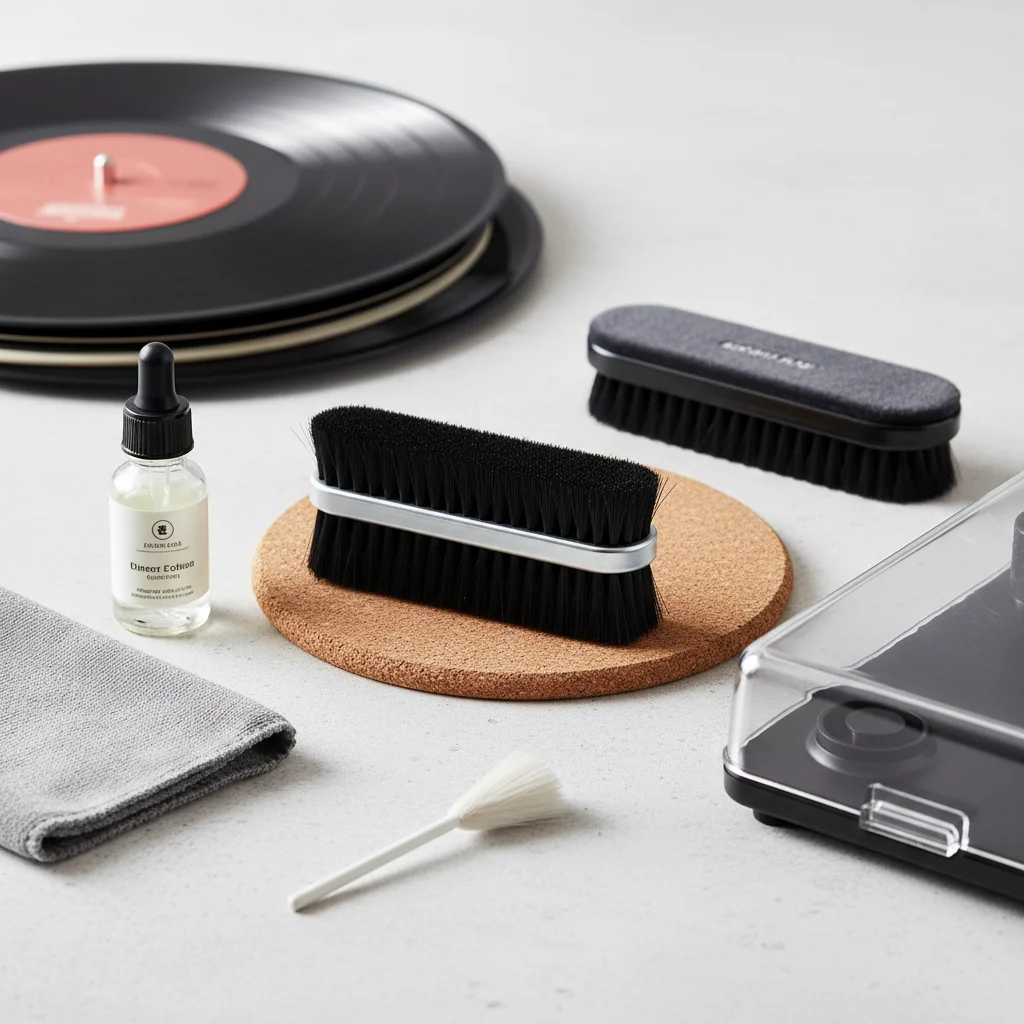
Maintaining a clean record player and vinyl collection is crucial for optimal sound quality and longevity. You should aim to clean your records before each play, and perform a deeper cleaning every 5-10 plays, depending on usage and environment. The record player itself, including the stylus and platter, requires less frequent but consistent attention to prevent dust and debris buildup from affecting playback.
Why Regular Record Player Cleaning Matters
Dust, grime, and static electricity are the arch-nemeses of vinyl records and record players. Over time, these elements can accumulate on your records, leading to audible pops, crackles, and a general degradation of sound quality. For the record player, dust can settle on the stylus, affecting its ability to track grooves accurately, and even interfere with the delicate mechanisms of the tonearm and platter. Regular cleaning not only preserves the fidelity of your music but also extends the life of your records and equipment. For see our record players recommendations on this site.
Daily and Weekly Record Cleaning Habits
For daily maintenance, a simple carbon fiber brush is your best friend. Before each play, gently brush your record in a circular motion, following the grooves, to remove loose dust and static. This quick step prevents dust from being pushed deeper into the grooves by the stylus. For a more thorough weekly or bi-weekly clean, especially if you play records frequently, consider using a record cleaning solution with a microfiber cloth. Apply a small amount of solution to the cloth, then wipe the record surface gently, again following the grooves, to lift away more stubborn dirt and fingerprints. Always ensure the record is completely dry before playing.
- Use a carbon fiber brush before every play.
- Wipe records with a microfiber cloth and cleaning solution every 5-10 plays.
- Clean your stylus with a dedicated brush after every few plays.
- Dust the record player’s plinth and platter weekly.
- Avoid touching record surfaces with bare hands.
Cleaning Your Record Player’s Stylus and Platter
|
Our Picks for the Best Record Player in 2026
As an Amazon Associate I earn from qualifying purchases.
|
||
| Num | Product | Action |
|---|---|---|
| 1 | Audio-Technica AT-LP60X-BK Fully Automatic Belt-Drive Stereo Turntable, Black, Hi-Fi, 2 Speed, Dust Cover, Anti-Resonance, Die-Cast Aluminum Platter |

|
| 2 | Victrola The Quincy 6-in-1 Bluetooth Record Player & Multimedia Center with Built-in Speakers – 3-Speed Turntable, CD & Cassette Player, AM/FM Radio, Wireless Music Streaming (Mahogony) |
|
| 3 | SoulBox S1 Vinyl Record Player with Stereo Speakers, Turntable with Built-in Preamp, S-Shaped Tonearm, 33/45 RPM - Walnut |
|
| 4 | Vinyl Record Player Turntable with Built-in Bluetooth Receiver & 2 Stereo Speakers, 3 Speed 3 Size Portable Retro Record Player for Entertainment and Home Decoration |
|
| 5 | Vinyl Record Player with Dual Stereo Bookshelf Speakers Vintage Turntable with Bluetooth Wireless Playback Belt Drive 3-Speed Playback Record Player Support RCA Out Auto Stop |
|
| 6 | Vinyl Record Player with Speakers Vintage Turntable for Vinyls Records Belt-Driven Turn Table Support 3-Speed, Wireless Playback, Headphone, AUX-in, RCA Line LP Phonograph for Sound Enjoyment Black |
|
| 7 | Audio-Technica AT-LP60X-GM Fully Automatic Belt-Drive Stereo Turntable, Gunmetal/Black, Hi-Fidelity, Plays 33-1/3 and 45 RPM Vinyl Records, Dust Cover, Anti-Resonance, Die-Cast Aluminum Platter |
|
| 8 | Vintage Record Player with External Speakers Belt-Drive Turntable for Vinyl Records Dual Stereo Speakers LP Players Support 3 Speed 3 Size Wireless Playback AUX Headphone Input Auto Stop Wood Red |
|
| 9 | Vinyl Record Player 3-Speed Bluetooth Suitcase Portable Belt-Driven Record Player with Built-in Speakers RCA Line Out AUX in Headphone Jack Vintage Turntable |
|
| 10 | Victrola Journey Bluetooth Portable Suitcase Record Player – with Built-in Speakers, 3 Speed Vinyl Record Player, RCA Out, Headphone Jack (Smoky Blue) |
|
The stylus, or needle, is perhaps the most critical component to keep clean. A dirty stylus can not only sound terrible but also damage your records. After every few plays, use a dedicated stylus cleaning brush, brushing gently from back to front (never side to side) to remove any accumulated debris. For the platter, a soft, dry cloth is usually sufficient to wipe away dust. If your platter mat is removable, give it a shake or a gentle wipe to remove any trapped particles. For more advanced cleaning, some audiophiles use specialized record cleaning machines that offer deep cleaning for both records and sometimes even the stylus.
Addressing Static and Deeper Grime
Static electricity can be a persistent issue, attracting dust to your records. An anti-static record brush or an anti-static gun can significantly reduce static buildup. For records with deeper grime or mold, a more intensive wet cleaning method might be necessary. This often involves a specialized record cleaning fluid and a vacuum-based record cleaning machine, which can effectively remove embedded dirt without damaging the vinyl. Always follow the manufacturer’s instructions for any cleaning solutions or machines you use.
When to Seek Professional Cleaning or Replacement
While most record player and vinyl cleaning can be done at home, there are instances where professional help might be beneficial. If you have a particularly valuable or heavily soiled record that you’re hesitant to clean yourself, a professional record cleaning service can often restore it to its former glory. Similarly, if your stylus appears bent, chipped, or if cleaning doesn’t resolve sound issues, it might be time for a replacement. A worn stylus can cause permanent damage to your records, so it’s always better to err on the side of caution.
